



How to Cut Cable Ties: Tools, Flush Cuts & Safety
Many people think that cutting off the extra length of a tie with scissors is the ultimate solution to this problem. After all, this action seems to be both simple and fast. However, it can cause a lot of troubles in the future as the cut end is often very sharp, and that can injure workers’ hands or rip open plastic bags or cardboard boxes. In certain cases, a cut end can cut through wire insulation in electrical applications, dooming the workers to some serious safety problems.
Knowing how to properly cut cable ties is a guarantee that you will not injure fingers, damage any packaging or the cables or create an ugly fastening caused by an improper technique. The article aims to explain two cases when cutting the tie would be absolutely necessary: finishing the fastening of a newly installed tie and safely removing the fastening of the tie that has already been installed. It will also provide the list of tools to use and not to use in each case as well as some methods of achieving the same results without cutting the tie.
Two Cases When Cutting a Cable Tie Becomes Necessary
Tools are used for cutting ties in two cases: the first one is finishing tie fastening. When the tie has been tightened, a piece of its length remains outside the tie locking head. The extra part must be cut. Otherwise, it may not only seem untidy but also create some danger due to its sharp edges. The second case is removing the tie that was used before securing wires. The operation must be done very carefully as the cutting process is happening very close to the cables.
How to Cut the Tail Flush After Installing a Cable Tie
When you tighten a tie, always trim the tail so it ends as close to the locking head as possible. This is what professionals mean by a flush cut, and it matters for two reasons: safety and tidiness.
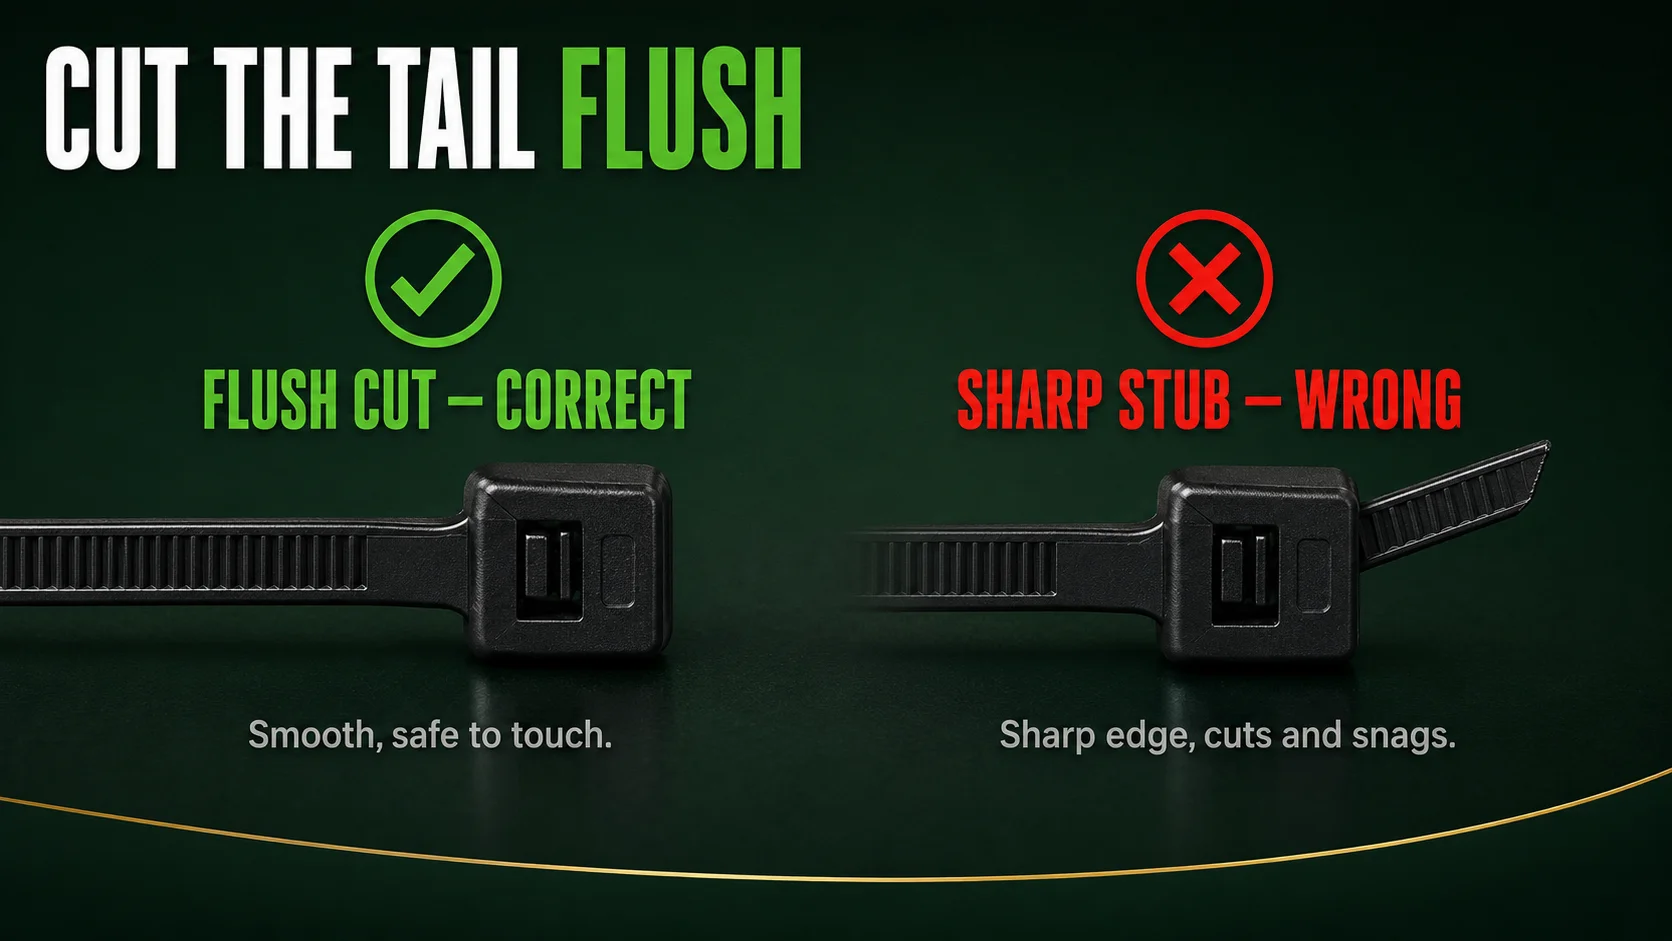
Haphazardly cutting a cable tie results in a blunt cut, which creates a sharp wedge that can cut hands and damage the packaging. Cutting the tie flush at the head takes away this danger and makes sure the finish is neat and professional to facilitate inspection.
The process is simple; you place the cutting tool flat against the cable tie head, making sure the cutting surface of the blade is parallel—rather than at an angle—and make a quick cut. This guarantees that the cut end of the tie will be flush with the head and will not produce sharp ends. Of course, care should be taken to avoid cutting into the tie head to prevent damaging the mechanism that keeps the tie tight.
This raises the question: why not just leave the tail of the tie uncut? This is perfectly fine if you only bundle a few things, but potential problems arise when you have bundles stacked on top of each other in which the tails can catch one another causing the bundles to loosen over time. In electrical use: if you don’t cut the tails of your cables, they will look messy and make any form of maintenance difficult in the future; that’s why obtaining the right tool to cut any tails that remain after you finish tying your items can convert this boring and time-consuming task into an easy one.
The Best Tools to Cut Cable Ties
There are many types of tools for cutting cable ties, but only a few produce a clean, flush, and safe cut. The following are recommended tools:
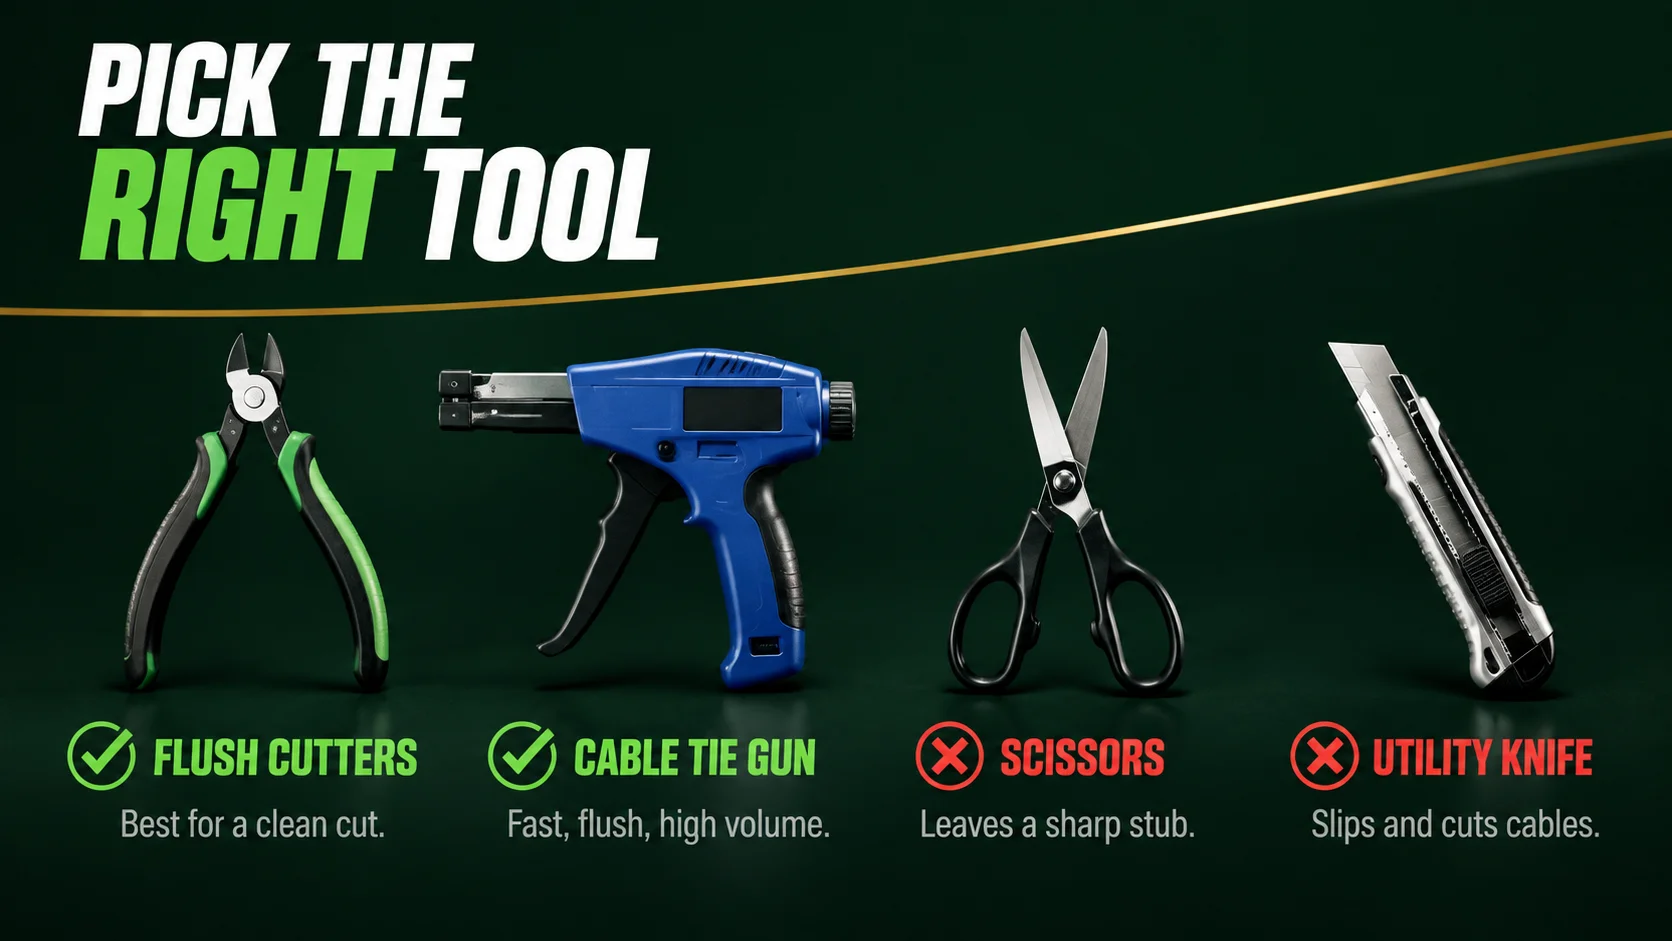
Flush cutters (side-cutting nippers) represent the most effective choice for everyday use. Their flat cutting aspect is positioned exactly at the tie head, and thus the strap gets cut off level with the surface in order to achieve the desired flush appearance. In addition, these tools are cheap, don’t require both hands to work, and are very precise, so they are preferred by most individuals when it comes to cutting nylon cable ties.
Later, a cable tie gun (also called a tensioning tool) offers a good solution for this procedure performed in large quantities. You insert the tail into the tool, and it tightens the strap to the required degree, and cuts it off flush with the head in a single movement. Those who have to work with dozens or hundreds of ties on a regular basis will appreciate the speed, consistency of results, and convenience of usage in comparison with manual cutting.
Diagonal cutters and wire-stripping pliers work well too when it is necessary to cut the tail, though they do not always provide a perfectly flush cut, therefore the result may need to be verified – if a stub is present, it is necessary to remove it.
Two tools have to be mentioned with a warning. A utility knife should definitely not be used for cutting the tail, given that an accident may occur while you perform this procedure on a rounded bundle. The result can be either a cut on the skin or damaged cable insulations. Also, try to avoid using scissors, since they cannot cut very close to the head and will leave a piece of strap that you wanted to remove.
| Tool | Best for | Flush finish? | Watch out for |
|---|---|---|---|
| Flush cutters | Everyday trimming, precision | Yes | Keep the edge sharp for a clean cut |
| Cable tie gun | High volume, consistent tension | Yes | Set the tension correctly first |
| Diagonal cutters | Occasional cuts when nothing else is handy | Usually | May leave a small stub — check and re-trim |
| Scissors | Not recommended | No | Leaves a sharp millimetre stub |
| Utility knife | Not recommended | No | Slips easily, can cut you or the cable |
One more tip: whichever cutter you use, keep it sharp. A dull blade crushes and drags the strap instead of shearing it cleanly, which is what leaves those ragged, sharp ends in the first place. A cheap pair of dedicated flush cutters, kept just for cable ties, pays for itself in clean finishes and saved fingers.
How to Remove a Cable Tie Without Damaging the Cable
In electrical upkeep, the cutting of cable ties that hold cables in place is a work that has to be done carefully, as the blades of the cutter are just a few millimeters from the wires being protected. Faulty technique can easily damage the insulation of the cable, which may cause difficulties in addressing issues in the future. Nevertheless, if the right tools are used, the right approach is applied, and patience is exercised, the task may be done easily and safely.
The main principle is to make sure that the blade of the cutter is not facing the cables. Locate a point on the strap where the gap can be found, this is the stretch of the strap between the tie head and the bundle, where there is some slack and light. Place the blade of either a pair of cutting pliers or small scissors into that gap, angle it in a way that its blade does not face the bundle, and cut flat strap and not the part of the tie which looks way larger than it is. After that, the tie will be cut and will be released, and there will be no damage done to the cable.
If you cannot find a point where you can cut, start from giving the strap some slack, or sliding a small spatula or closed blade of scissors under the strap in order to pull the strap out from under the wires first. Do not blindly saw the strap pressed against the bundle of cables; do not pull the strap that is being cut, as it can spring back with a sharp edge.
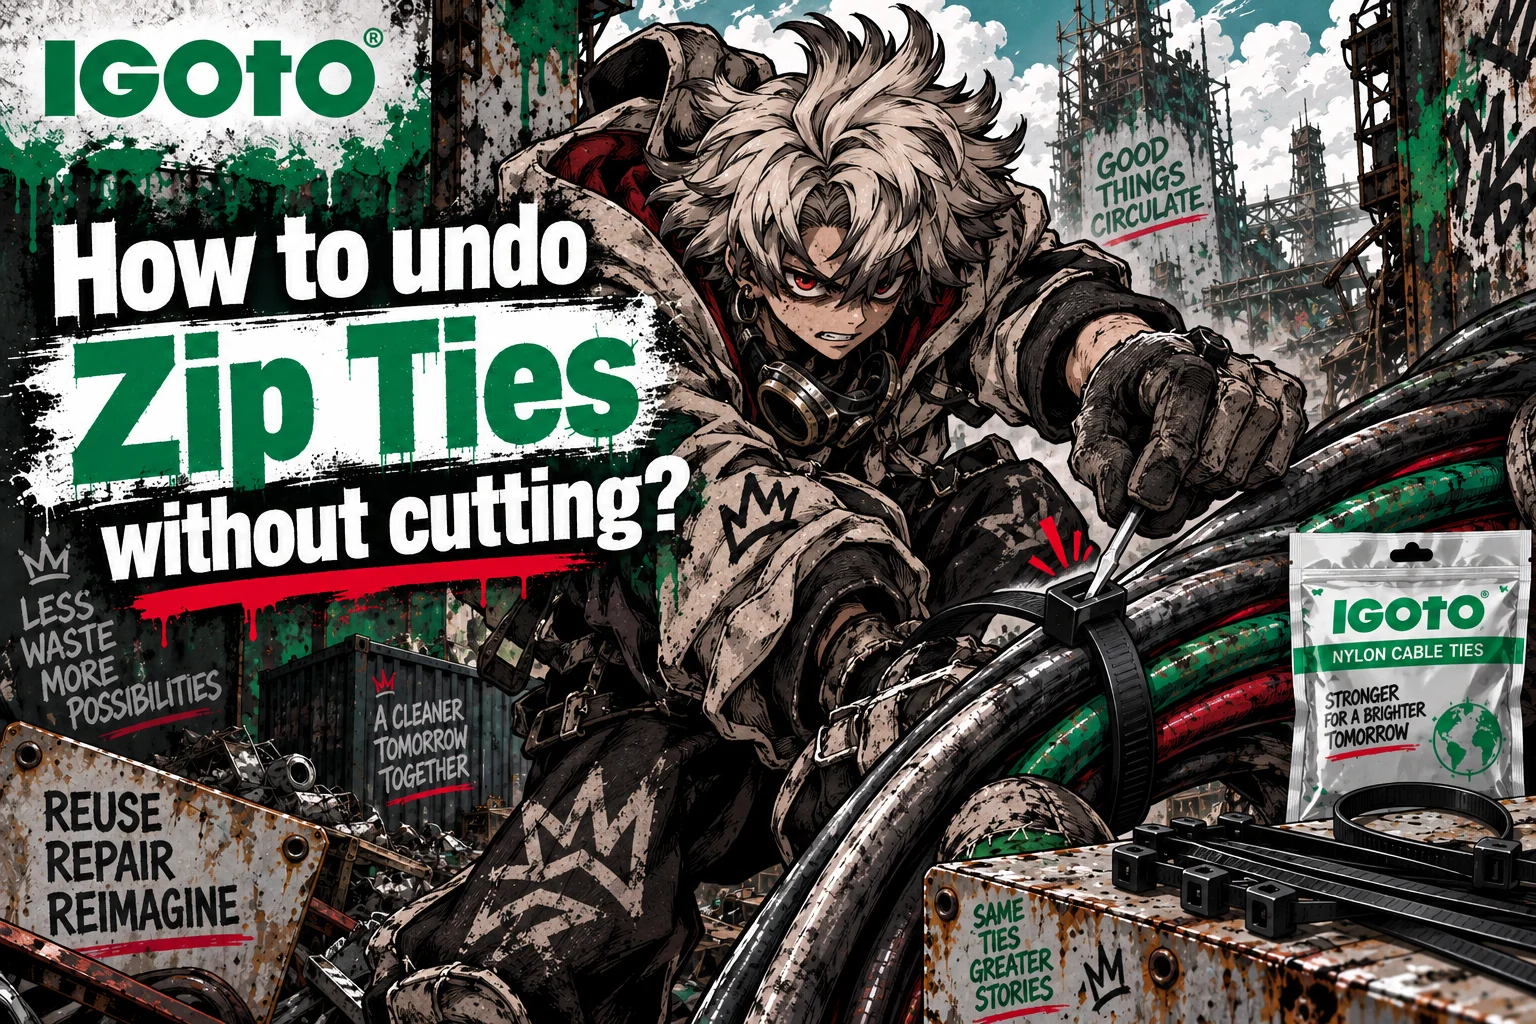
Additionally, if you find yourself in a difficult situation, you can use a no-cut method. Just put a screwdriver or a needle underneath the small pawl inside the head of the tie, and lift it, thus releasing the tie without having to make any cuts.
Moreover, do not forget to observe safety precautions when using ties made of stainless steel. You should use proper cutters rated for metal, make cuts carefully, and wear safety equipment.
No-Cut Alternatives: Twist-Tail and Reusable Ties
Sometimes it happens that no proper cut was performed. Indeed, cutting can be avoided thanks to two types of ties.
The first type of a tie is twist-ties. This tie has a perforated part near its head. And when the tie is tightened manually, this perforated part will break away after twisting the tail part of the tie. Once again, this means that you will not need any tools for this installation process.
The second type of a tie is called releasable cable ties. This type of ties makes it easy to remove the that type of cable ties. In cases where the change of the bundle occurs frequently, the use of releasable ties can be a better option than installing the traditional choice.
The thing is that neither of these two types of ties is applicable for every type of task. For instance, twist ties seem to be the best option for using manually, whereas releasable ties can be utilized if you need to change the bundle often.
Does the Material Change How You Cut It?
Even though normal nylon ties can be cut as previously discussed, certain materials will require different cutting methods. Heavy duty and thick nylon ties require a much higher pressure to cut, and the correct tools must also be strong as well. If using low quality tools, it may still be impossible to cut through the thick material.
Compared to nylon ties, stainless steel ties cannot be cut using the same methods. Specialized cutting tools and tensioning tools must be used in this case, as the scrap and the cut end will both be very sharp. Coated and metal detectable ties also require some special attachments so that there will be no possible sharp end pieces left after cutting and harming products or food later on.
Safety Tips When Cutting Cable Ties
None of the work here is dangerous, but it is good practice to develop some habits that will keep you safe and free from getting hurt while doing so.
When cutting, make sure to angle the blade away from your body as well as the cables for safety.
You should also wear eye protection when cutting under tension. Small pieces of strap and stainless trim can fly off at an unexpectedly fast speed.
Always feel with your fingertip to check for burrs or sharp pieces, and trim these before proceeding.
Remember to keep all your cut pieces, as bits of loose strap may be difficult.
You should make sure to let the tool do most of the work as opposed to squeezing or twisting since this prevents the ends from becoming jagged.
Common Mistakes to Avoid
Some issues which arise during cutting of cable ties are largely due to some errors committed during the cutting process itself. The first such issue is the angle of cut that creates sharp points on the edges. The next issue is the damage to the cable tie head which occurs while cutting. Yet another error that one can make is using the wrong type of equipment such as scissors or utility knives instead of flush cutters. In addition, the person may be using a saw-like cutting instead of making clean cuts. Finally, some people try to cut the cable tie by just pulling the tie and not actually cutting it.
Frequently Asked Questions
How do you cut a zip tie without cutting the wire?
Make your way in the gap between the tie head and the cable bundle, where the tie strap is covering empty space. Use flush cutters or small snips, place at the gap, and then angle the blade from the wires while cutting the flat strap, but not the head. If the zip tie is next to the bundle, you can either take some slack before cutting, or you can insert a blunt tool first under the strap.
What is the best tool to cut cable ties?
Usually, people prefer to use flush cutters or side-cutting nippers as the best way to give the cut that is safe and clean. In case of making a lot of similar ties, cable tie gun can be used as well, which tension and cuts the tied material. Both variants are better than scissors and utility knife which create a sharp stub or might slip.
Can you cut a cable tie with scissors?
Yes, scissors can be used for this process, however, it is not advisable. Scissors do not allow you to cut close to the tie head, and a few millimeters of strap will remain, leading to a sharp edge which can cut the hands of people. Instead, making the use of flush cutters, which manage to cut the strap right at the head of the tie can solve the problem.
Can you remove a cable tie without cutting it?
Yes, if the zip tie is releasable, it can be easily undone by using a small lever on the head. However, the standard zip ties cannot be reused and have to be removed. However, if you have to deal with many cables regularly, the better option is to get the releasable cable ties beforehand.
Finishing Every Tie the Right Way
The process of cutting a tie may seem mundane, but is an important skill which can have a profound positive impact. Proper cutting means making a cut that is at the level of the head to ensure there is nothing sharp or annoying at the end of the tie, making sure to have the blade angled away from the cable, using flush cutters or a tie-gun instead of scissors or knife and opting for twist-tie or releasable ties as needed if you want to avoid cutting altogether.