




How to Mount a Water Bottle Cage With Zip Ties
Many bikes go out without a system for holding bottles — older bicycles, folding bikes, children’s bikes, and even many new mountain bikes either have no braze-on mounts or have the braze-on mounts located where they are difficult, if not impossible, to access. The simplest and most effective solution to this problem is a very old technique that is still used in the workshop today — mounting the cage using zip ties. If it is done poorly, it will look rough and will probably loosen well before you hit any rough signal on the road. But if done well, meaning the right zip ties have been used and the mounting locations are padded properly, the cage will stay put for years at a time. This tutorial explains how to do it right, what type of zip ties to use, and where to put them.
When You Would Use Zip Ties to Mount a Bottle Cage
The most common reason is quite obvious — the bike does not have any mounting holes for the cage. Vintage road bikes and other low-cost bicycles like BMX bikes and some folding bikes had not been fitted with screws and mounts for a cage and drilling holes for that purpose may be difficult enough not to be taken lightly. ZipDespite the fact that the bike may be fitted with fittings already, its users will resort to zips for adding one more receptacle at the place where the producer did not expect it to be used: on the legs of the forks for bikepacking or on the pipe of the seat, under the saddle, on the pipe at the top, or on the handlebars. The scheme is the same everywhere, so after you have performed it once, you will be able to fix practically any surface of the bike.
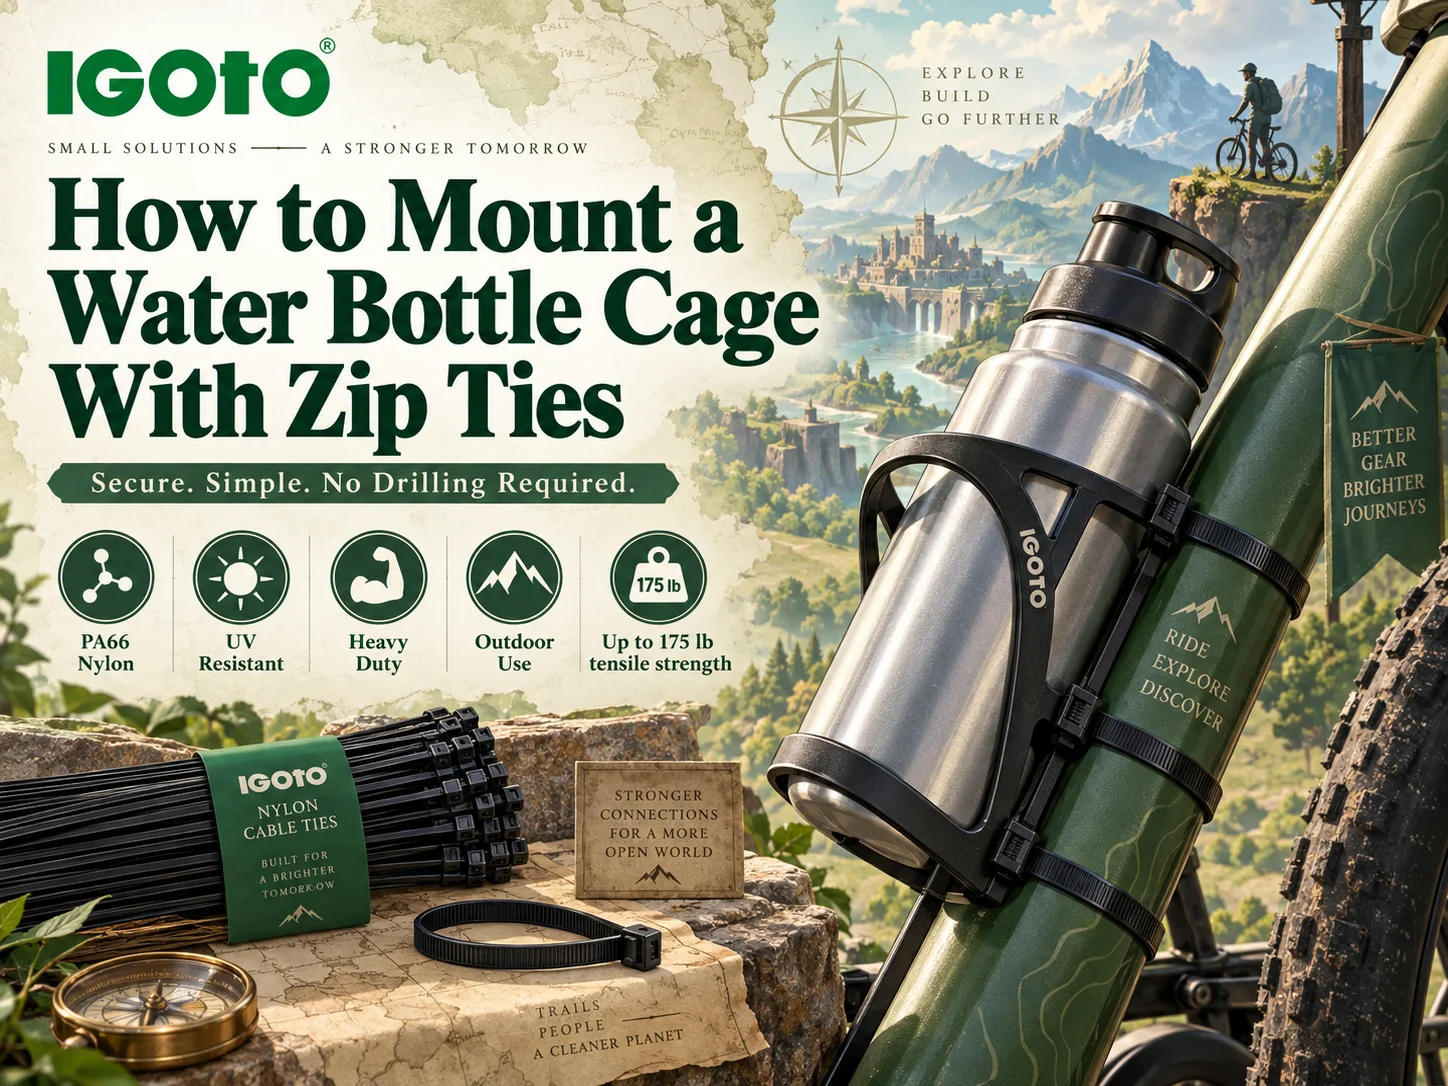
Zip ties versus clamps and straps. Why zips become a winner.
There are various other methods of mounting a receptacle on the frame without using bearings but they all have some disadvantages. Universal clamps for bottle receptacles, for instance, produced by Zefal or Elite are useful and rather neat, but they are costly and fit only a certain type of tube and may slip on uneven tubing or oversized tubing. Velcro and rubber straps are fast to use but they are the worst type of slipping and bouncing cages. The bolt-on fittings or rivnuts give the most doubtful result, still they require drilling into your frame and this is risky and irreversible operation.When combined with some padding, these cages grip as tightly as a vice, which means that if you need to sell your bike or modify the arrangement, all you need to do is cut them away. For many cyclists they are not a compromise option but rather a clever solution.
What You Need
You will not have to have a workshop for this, just a bottle cage – if there is not enough space you may need a side-loading one allowing you to extract the bottle sideways rather than upwards. You also need a pack of zip ties, some padding to protect your frame and a pair of flush cutters or scissors and it is recommended to have a tensioning tool for tightening each tie properly.A bottle cage (preferably side-loading if the space is constrained)
Durable and UV-protected nylon zip ties long enough for wrapping the tube and the cage in the required way
Some padding: additional inner tube rubber, foam tape, thin rubber or mastic tape
FlushStep by Step: How to Put a Water Bottle Cage Using Zip Ties
The whole operation will take approximately ten minutes. Go through it step by step and do not rush the last tightening, as it would be the very thing that makes the difference between a mount holding for years and a mount sagging after a week.
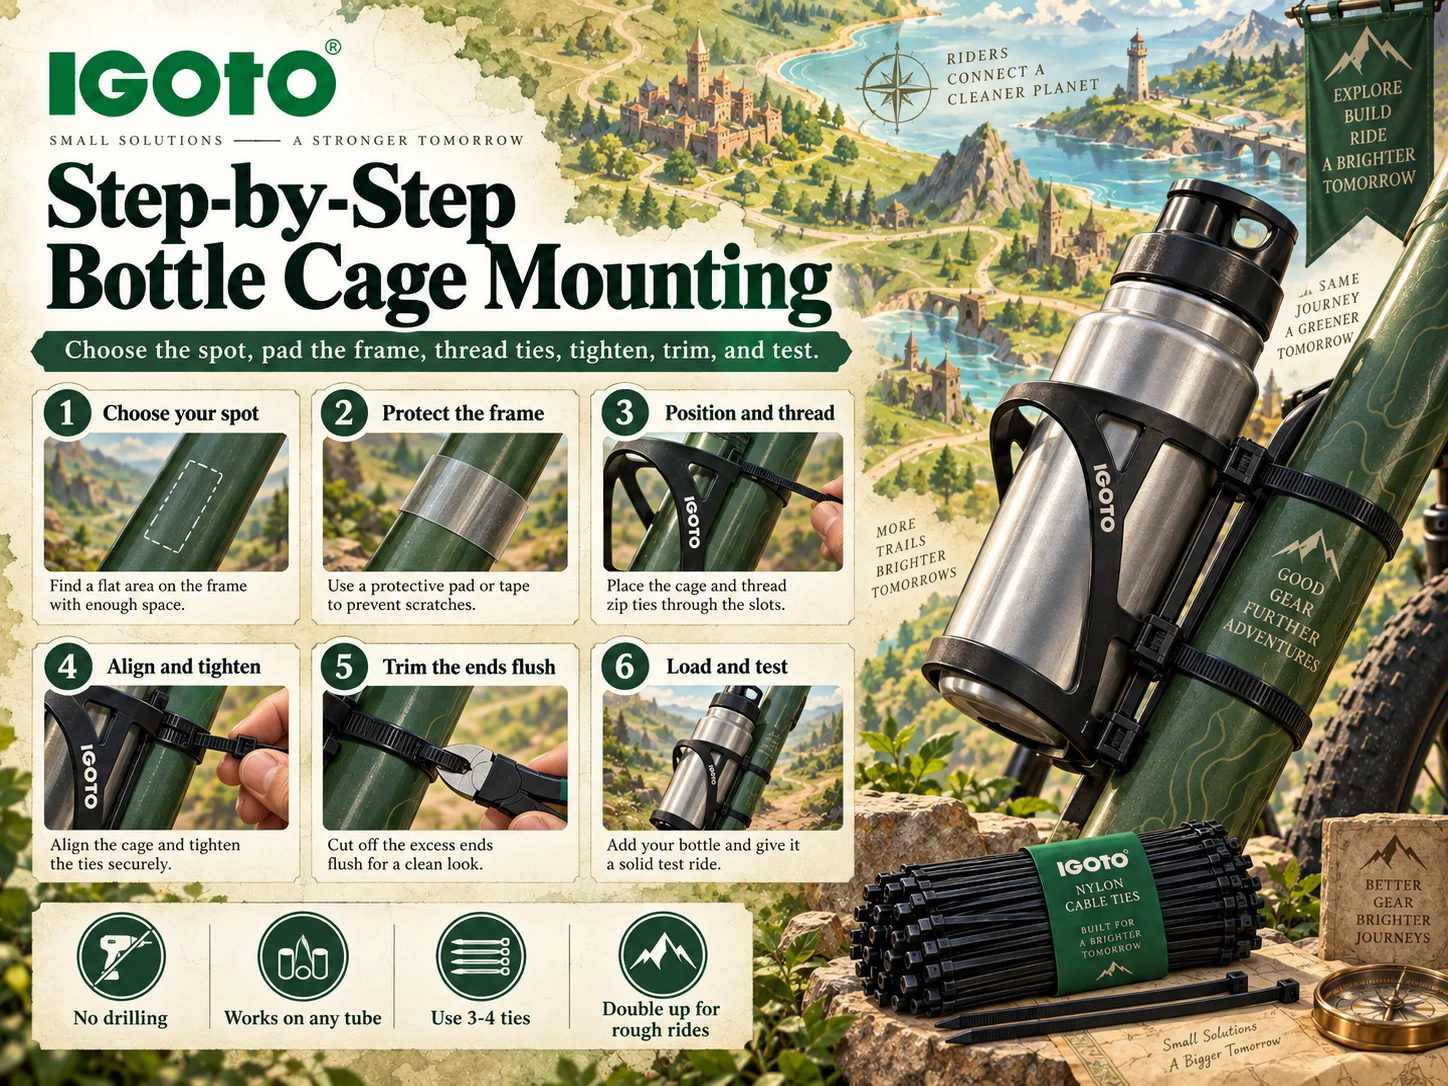
Find the spot. Put the cage on the down tube, seat tube, fork, seatpost, top tube, or handlebar and check the clearance for the full bottle practically in all respects. Make sure that the complete bottle would not obstruct your knees and that it will have enough space not to interfere with the front wheel or a rear shock, dropper post in a fully lowered position, or a folder while folding.
Protect the frame. Make a layer or two of an old inner tube made of rubber or mastic tape around that tube. It protects the paint from scratching and holds the tube against moving or sliding.
Position and tie. Hold the cage in place, pass a zip tie through each hole of the cage and wrap it around the tube before bringing it back through the head of zip tie. Start every tie loose so as to be able to move the cage freely.
Adjust the position of the cage and tighten the zip ties. The mounting is done in two steps. At first, make all zip ties tight, then lift the cage to check the position (rotate the cage till you can see the level of your bottle cage). Adjust and tighten the zip ties to make the cage hold firmly. To be on the safe side, it is recommended to use three or four zip ties, and if the terrain is bumpy or the bottle is heavy, to use double zip ties arranged through one hole.
Choosing the Right Zip Ties for the Job
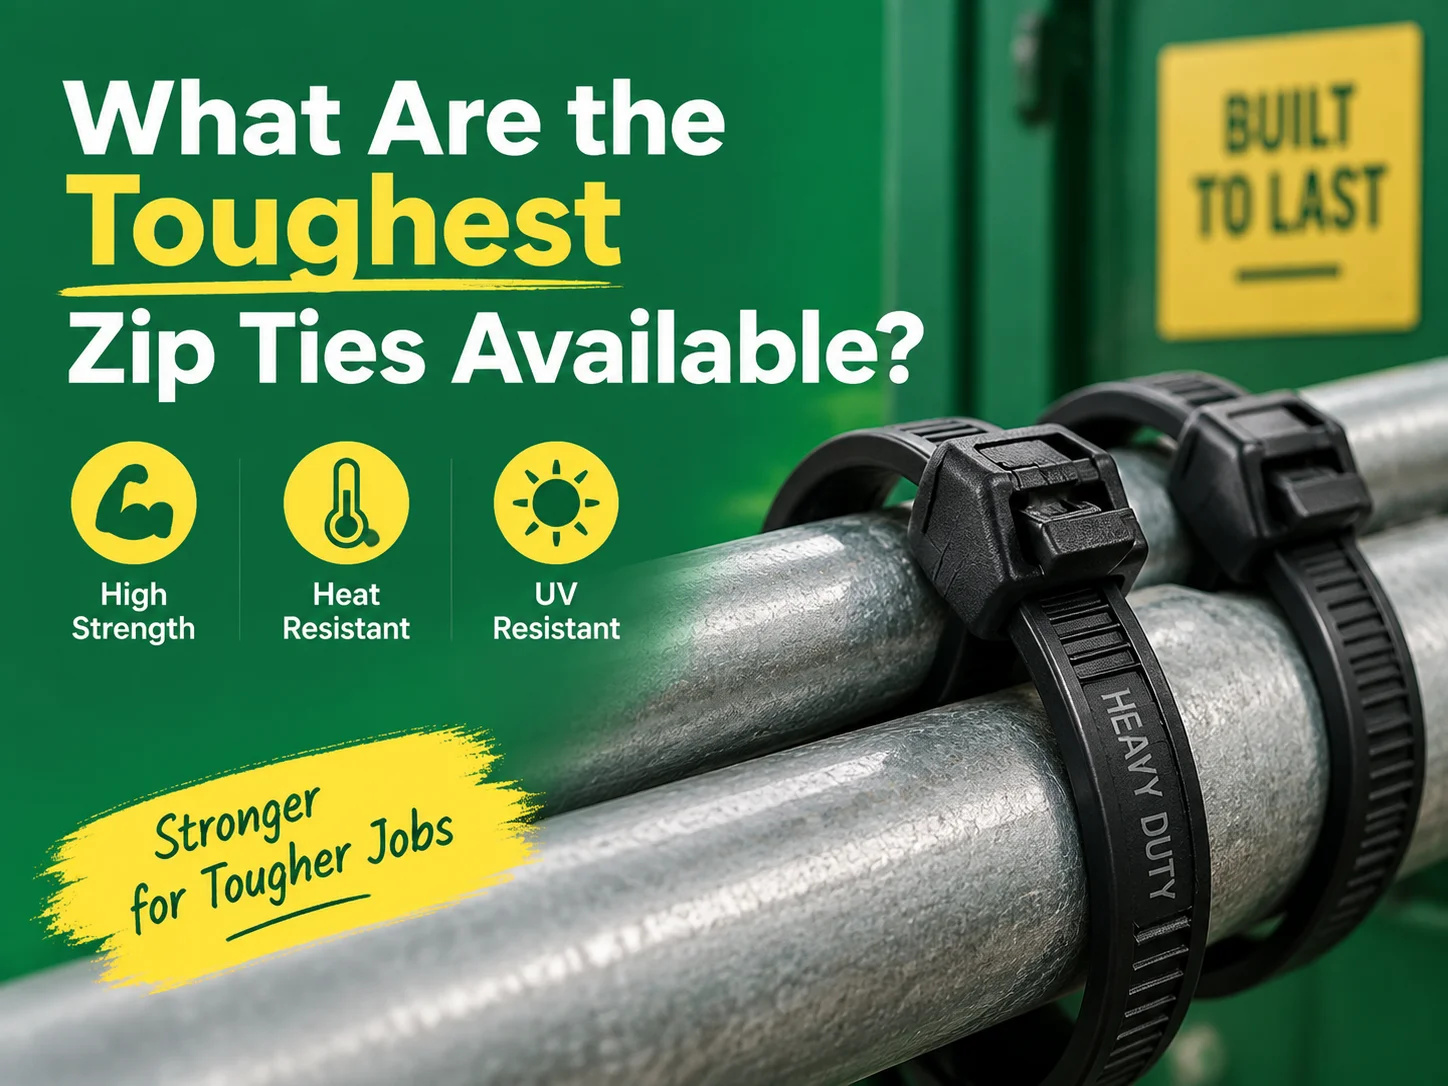
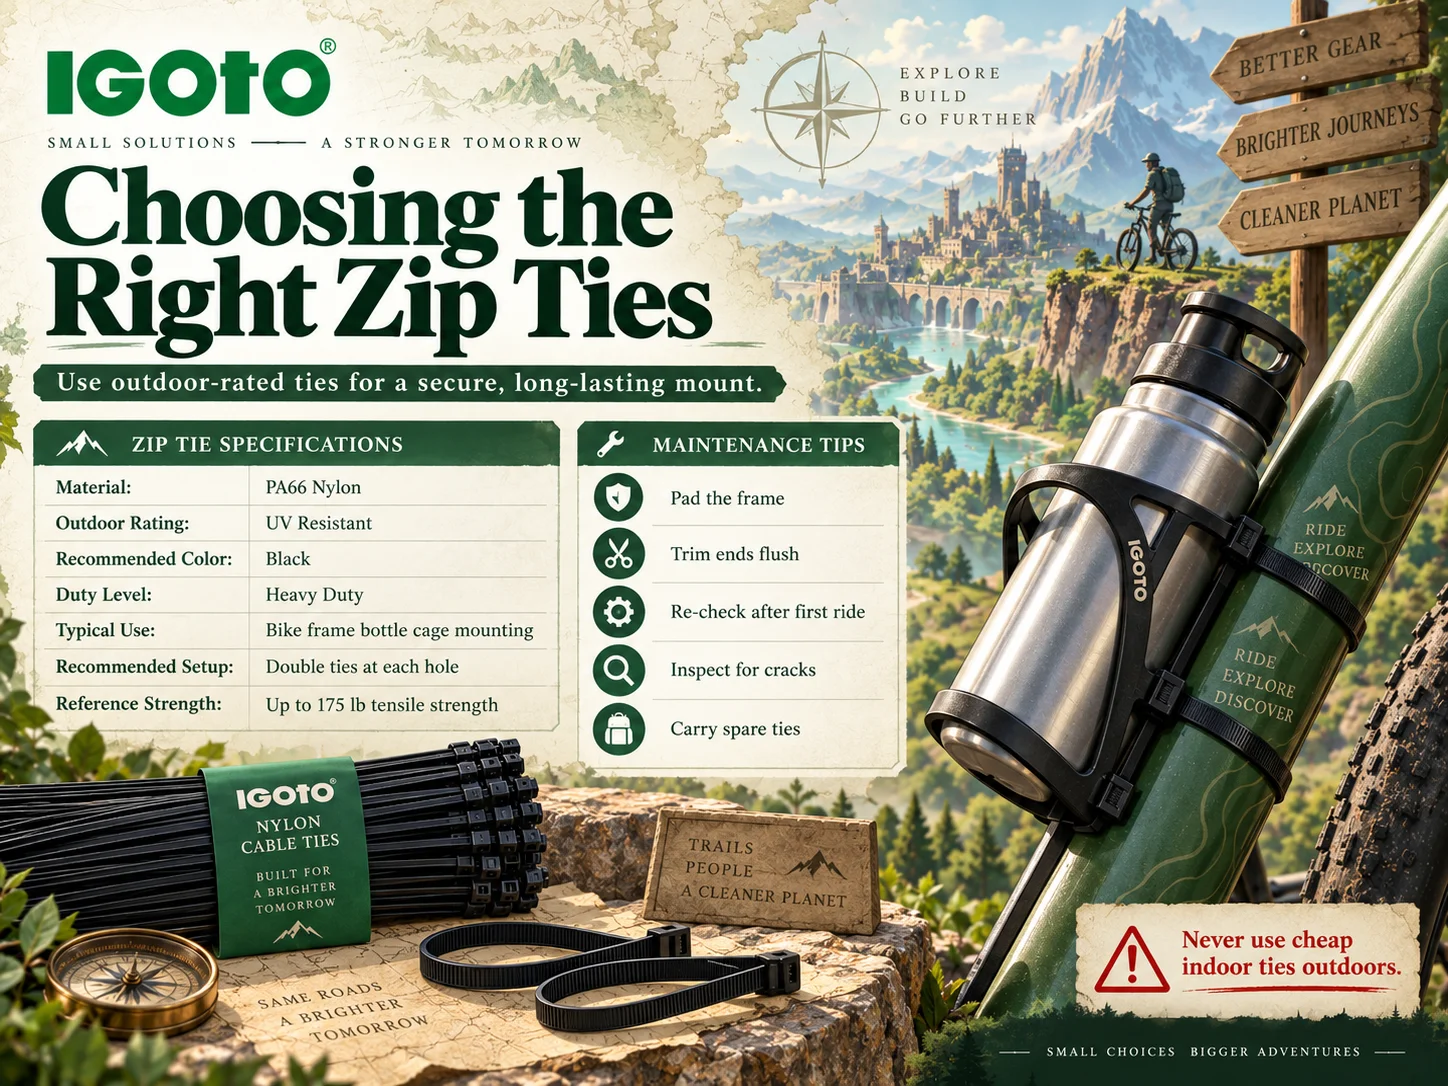
This is where most zip tied cages either succeed or fail, and it comes down to material, size, and outdoor rating. Standard off-white indoor zip ties are formulated for tidying cables behind a desk; they have no protection against sunlight and turn brittle within a season outdoors, snapping without warning. For a bike, you want black, UV-resistant nylon ties made specifically to survive constant sun, rain, and temperature swings.
While length is certainly necessary, width is equally as important. A wider tie provides significantly more tensile strength and a larger area over which to support the tube by preventing it from digging into it and stretching it. Bikepacking commercial cage-mount kits are designed to utilize heavy-duty UV cable ties with a tensile strength of around 175 pounds for this reason. Use a tie that is long enough to wrap around the tube’s diameter and the cage or other mounting elements with some room to cinch it down, as well as thick enough to avoid stretching or buckling under the load. IGOTO’s guide to choosing the right size, strength, and material breaks down the numbers if you want to match a tie precisely to your frame.
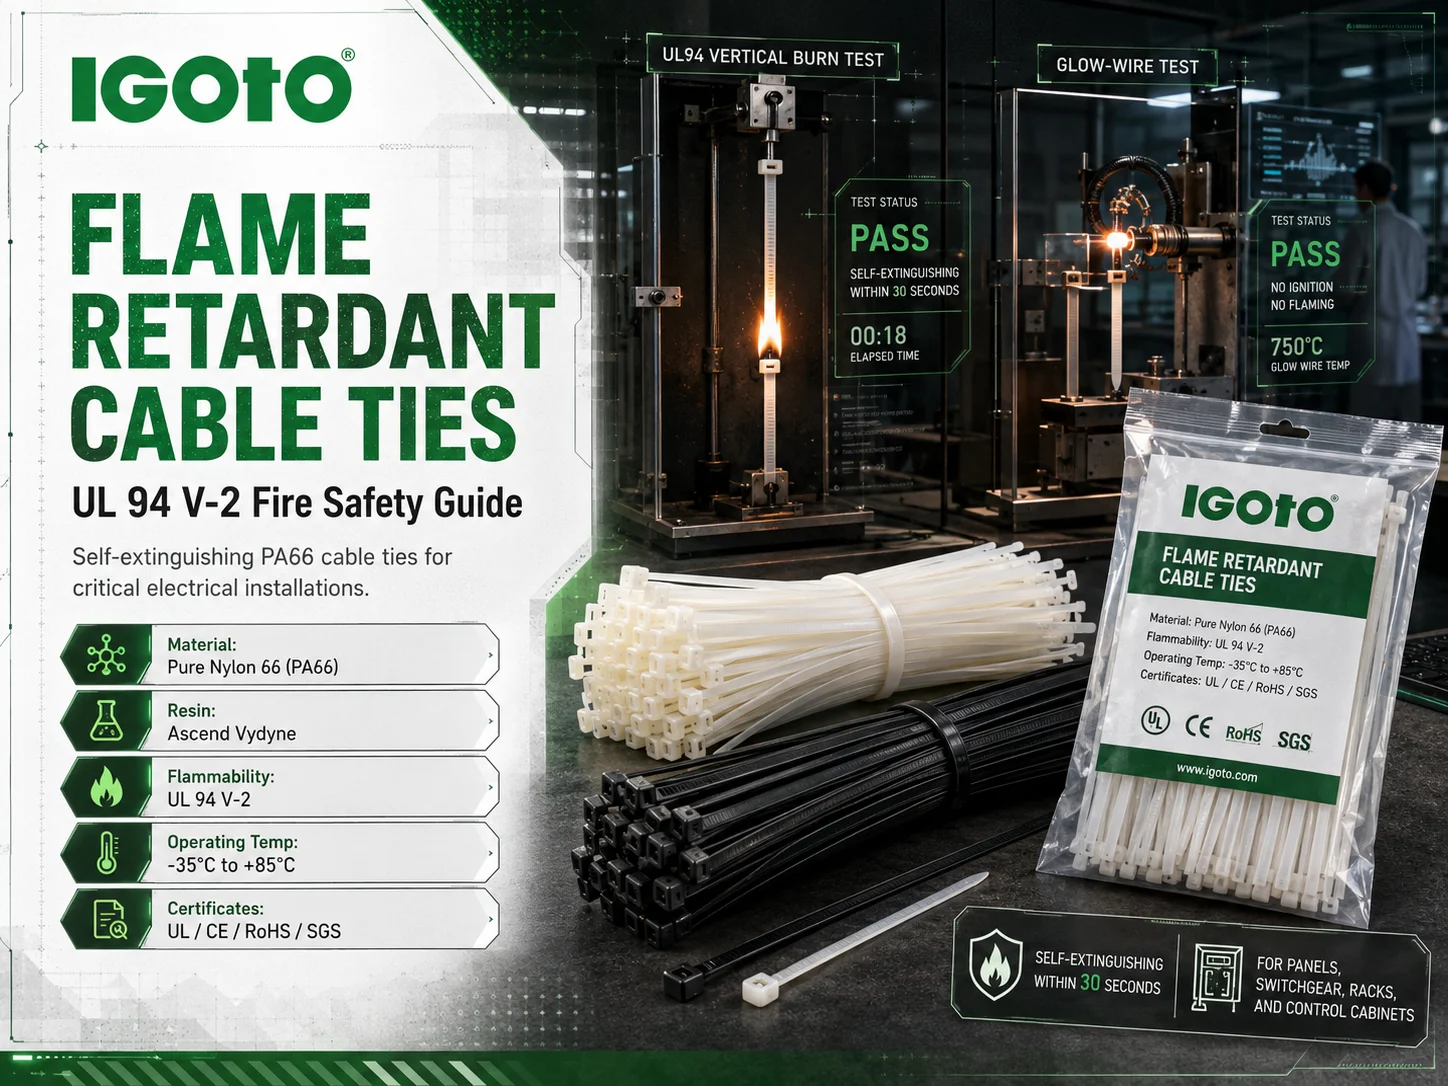
For anything that lives in the weather, reach for UV-resistant nylon ties rather than ordinary ones. They are made from high-grade PA66 with carbon black and UV stabilizers built in, which is why weather-rated ties are almost always black, and it is that formulation that lets them hold their strength outdoors for years instead of cracking after a few months.
Don’t ever fasten the bottle cage with inferior zip ties, particularly on forks or handlebars. When a brittle zip tie breaks, the cage along with a full bottle may fall directly into the front wheel and cause an accident. Black UV-resistant heavy-duty ties should always be used, doubled at every hole in situations when the road isn’t smooth.
Top Suggestions for a Secure and Durable Bottle Mount
Some simple changes can transform an Average zip tie mount into one you’ll forget about. The most critical change is padding: an old inner tube pad placed between the cage and frame serves more than just to protect the paint. It would literally keep the cage from sliding all around the catheter, especially on off-road trails. Without this pad, a mount is sure to loosen gradually.
Next, using double zip tie will substantially improve the mount. Having two zip ties in every hole gives extra capacity and redundancy for the attachment; as a result, you won’t drop the bike from a one replaced tie, which is essential for gravel or mountain bike. Lastly, it is good to have a side-loading cage in limited spots and to mount the mounting ties neatly so that they don’t bother your legs.
Last but not least, pay attention to the details in order not to put your safety at risk and to keep the bike looking good. Trim each tail identically so that there are no pieces sticking out of the rest, choose the right tie color that would suit your bike frame, and check the clearance for the first time when having a full bottle of water in it.
How Long Will a Zip-Tied Bottle Cage Actually Hold?
This lasts a surprisingly long time when using the right zip ties! Riders report that zip-ties used on cages last for a year and sometimes even longer. The only common reason they fail is because of using zip-ties that are weak and have been exposed to UV rays directly. It is therefore important to invest in good quality zip-ties. Good quality zip-ties are made from genuine PA66 nylon that not only holds well during hot summers but also when it is cold during winter as well, which is exactly what a mount that remains outside needs.
That durability is the same reason UV-rated nylon ties are trusted for solar arrays, fencing, and outdoor wiring, not just bikes. If you want the full background on why sunlight destroys ordinary ties and how the UV-stabilized versions resist it, the IGOTO explainer on why UV protection matters outdoors covers it well. Buy the right tie once and the cage will outlast several water bottles.
The practical upshot is that maintenance is almost nothing. Every few weeks, or before any long ride, run a thumb over each tie and give the cage a wiggle — you are checking for a tie that has gone chalky or cracked, or a mount that has developed the tiniest bit of play. Swapping a suspect tie takes under a minute and costs next to nothing, which is a fair trade for never losing a full bottle to a broken tether on the trail. Keep a couple of spare zip ties in your saddle bag and you can even redo a mount on the roadside if you ever need to.
Frequently Asked Questions
Are zip ties strong enough to hold a water bottle cage?
Yes, easily, as long as you use heavy-duty ties and enough of them. Three or four good zip ties — or doubled ties through each hole for rough terrain — will hold a loaded cage more securely than many strap-on adapters. The strength comes from using the right ties, not from luck.
What size zip ties do I need for a bottle cage?
Pick a tie long enough to wrap your frame tube plus the thickness of the cage with room to cinch down, and wide enough to be genuinely heavy-duty rather than a thin indoor tie. On a typical down tube, a longer, wider UV-resistant tie gives the best grip and strength.
Will zip ties damage my bike frame?
Not if you pad the contact area first. Wrap a layer of old inner tube, rubber, or mastic tape around the tube before mounting, and the ties will grip that padding instead of biting into your paint. The padding also stops the cage from sliding.
Can I mount a cage on my fork or handlebars with zip ties?
Yes — the fork legs, seatpost, top tube, and handlebars are all common spots, which is a big part of why zip ties are so popular for bikepacking. Just double up the ties on the fork or bars, since a failure there could send the cage into your wheel, and check clearance carefully.
How many zip ties should I use?
Use at least three or four, one through each mounting point. For a heavy bottle or off-road riding, run two zip ties through every hole so the load is shared and you have a backup if one is ever nicked or damaged.
The Bottom Line
Mounting a water bottle cage with zip ties is one of the best cheap upgrades on a bike: it works on almost any frame, needs no drilling and no special skills, and holds solidly for years when you do it right. Pick your spot with clearance in mind, pad the frame, double up your ties, pull them properly tight, and trim the ends flush — that is the whole secret. The only part worth spending real thought on is the ties themselves, because a bike lives outdoors and a failed tie is a lost bottle or worse. For black, UV-resistant, heavy-duty zip ties built to survive the weather, IGOTO manufactures a full range direct from the factory, with UV-resistant, flame-retardant, and high-strength lines available at low minimums. Browse the complete range of nylon zip ties and fasteners to find the right size and strength for your build.